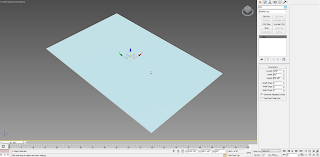
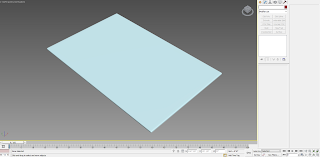
1. Create a Box. You can use the parameters I've used: 12' x 8'. Just make sure the height value is very very small.
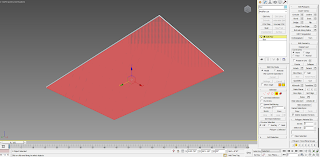
2. Add an Edit Poly modifier, move around the box so you can see its bottom. Select Polygon Sub-object (you can just hit 4), select the bottom polygon and delete it.
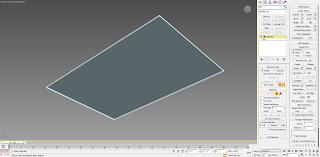
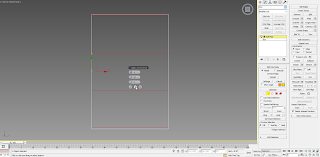
3. Go on a top viewport and hit F3 to go to wireframe mode.
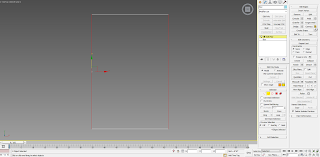
4. Hit 2 to select the Edges Sub-Object. Select the vertical edges, as shown and click the small box next to Connect, to open the Connect dialog.
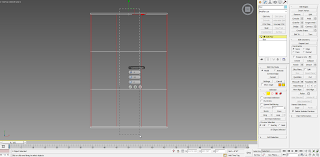
5. Modify the values, as shown:
Segments: 4
Pinch: 92
And then hit the cross: Apply and Continue.
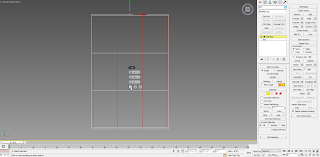
6. Now select the horizontal edges, modify the amounts as shown:
Segments: 4
Pinch: 87
And this time hit Apply, to apply the modification.
7. Finally, add a Turbosmooth modifier and change the iterations to 2.
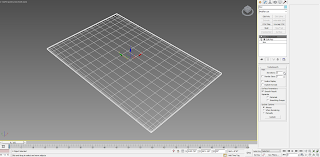
Your rug is now ready to receive the material!
Continue to Part II

2. Add an Edit Poly modifier, move around the box so you can see its bottom. Select Polygon Sub-object (you can just hit 4), select the bottom polygon and delete it.


3. Go on a top viewport and hit F3 to go to wireframe mode.
4. Hit 2 to select the Edges Sub-Object. Select the vertical edges, as shown and click the small box next to Connect, to open the Connect dialog.

5. Modify the values, as shown:
Segments: 4
Pinch: 92
And then hit the cross: Apply and Continue.


6. Now select the horizontal edges, modify the amounts as shown:
Segments: 4
Pinch: 87
And this time hit Apply, to apply the modification.

7. Finally, add a Turbosmooth modifier and change the iterations to 2.


Your rug is now ready to receive the material!
Continue to Part II
No comments:
Post a Comment